P5: Produce an off line edit of the promo
OFFLINE EDIT
SECOND OFFLINE EIDT
Changes made:
In my second offline edit I chanhed several apsects of the trailer from the first offline edit, that being; Sound, colour, transitions and overall length of the piece. For example:
In my second offline edit I chanhed several apsects of the trailer from the first offline edit, that being; Sound, colour, transitions and overall length of the piece. For example:
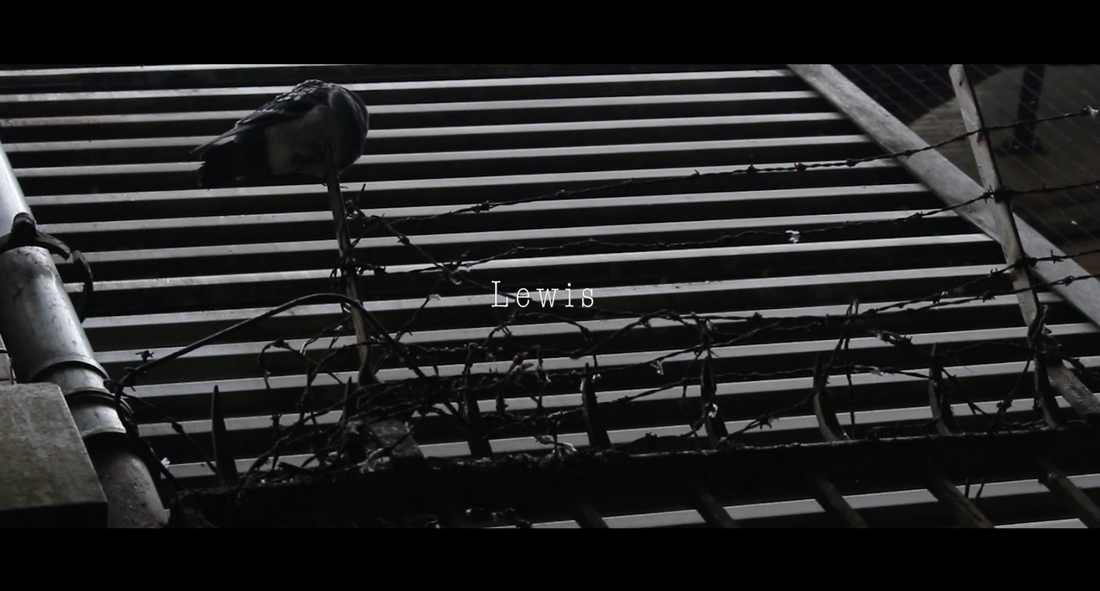
- From 00:00 all the way to 02:15 I've change the colour in colour correction within premiere pro to give it more of a harsh tone, to really connote to the audience that this is a sad film
- Ive changed the dialogue in Audacity, making ther dialgue flow better by editing it so it shorter and has a slight echo on it.
- I added cnemtaic frame to give it a more proffesional look and to follow the client biref as they state they want "A trailer for a local independent film about homelessness" and film trailers typically have cinemtaic edges.
- I added title of the peice (what the actual name is of the peice)
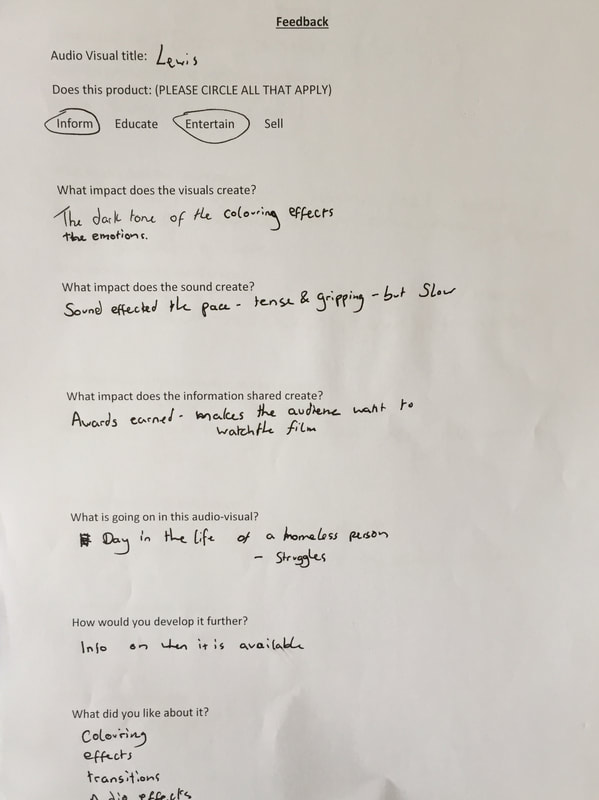
Audience feedback for second offline edit:
|
|
Timecode:
|
|
Survey for my Offline edit:
|
Survey responses:
|
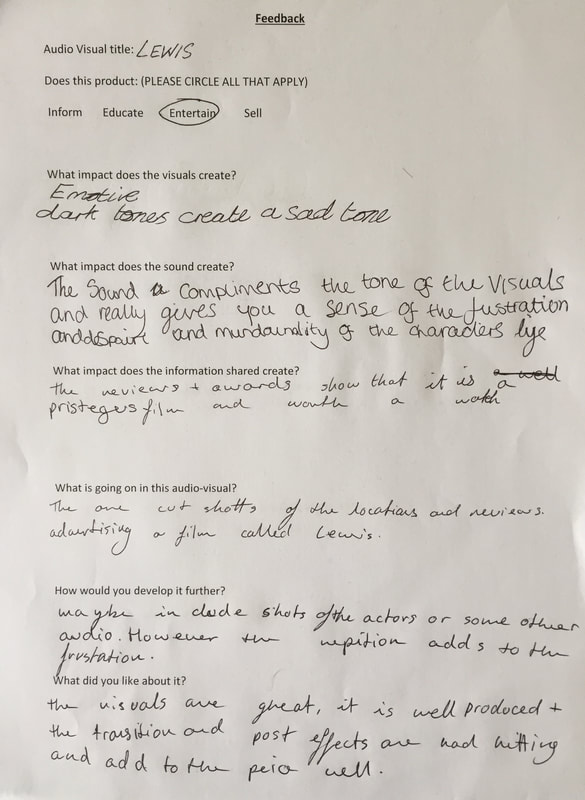
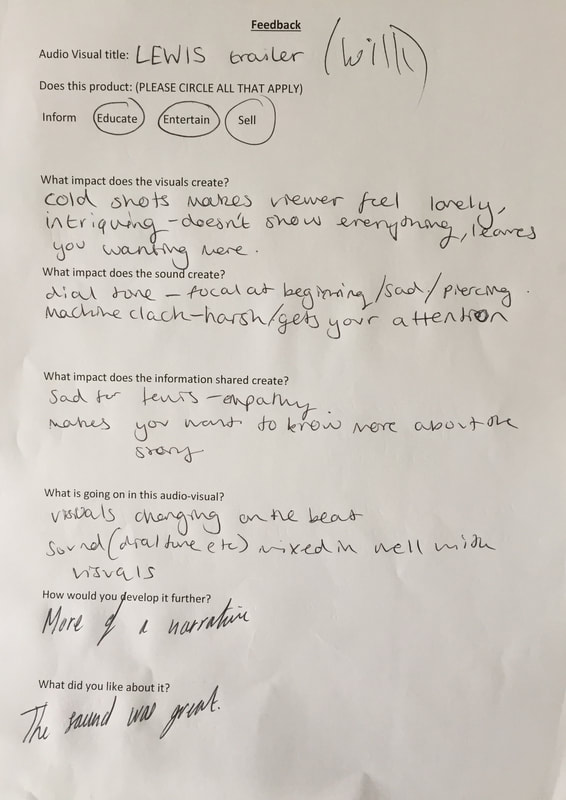
From the audience feedback, I conducted it allowed me to gain an understanding of what needed to be changed from the second offline edit I had created. I ask my focus group a set of questions and the answers I received from those questions helped me when creating my final edit, to make it look the best as possible whilst sticking to the client brief. The questions I asked:
From these questions I received feedback such as "The visuals create a narrative which is easy to follow along with the other elements in the video (such as the audio and text)" With this positive feedback it allowed me to make sure I kept these key aspects of the video in as this seemed to be what people like the most. However, some feedback I did have was that I needed more "information" this was regarding the narrative some of my audience felt like this needed to be developed that being either me changing the shots to make them longer or adding more dialogue, and making it sound more dramatic and more of a tense narrative.
- What impact does the visual create?
- What impact does the sound create?
- What impact does the information shared create?
- Did you understand what was happening throughout the audiovisual?
- How would you develop it further?
- What did you like about it?
From these questions I received feedback such as "The visuals create a narrative which is easy to follow along with the other elements in the video (such as the audio and text)" With this positive feedback it allowed me to make sure I kept these key aspects of the video in as this seemed to be what people like the most. However, some feedback I did have was that I needed more "information" this was regarding the narrative some of my audience felt like this needed to be developed that being either me changing the shots to make them longer or adding more dialogue, and making it sound more dramatic and more of a tense narrative.
P6: Carry out post-production processes to edit the audio- visual material to produce the final product
Naming clips:
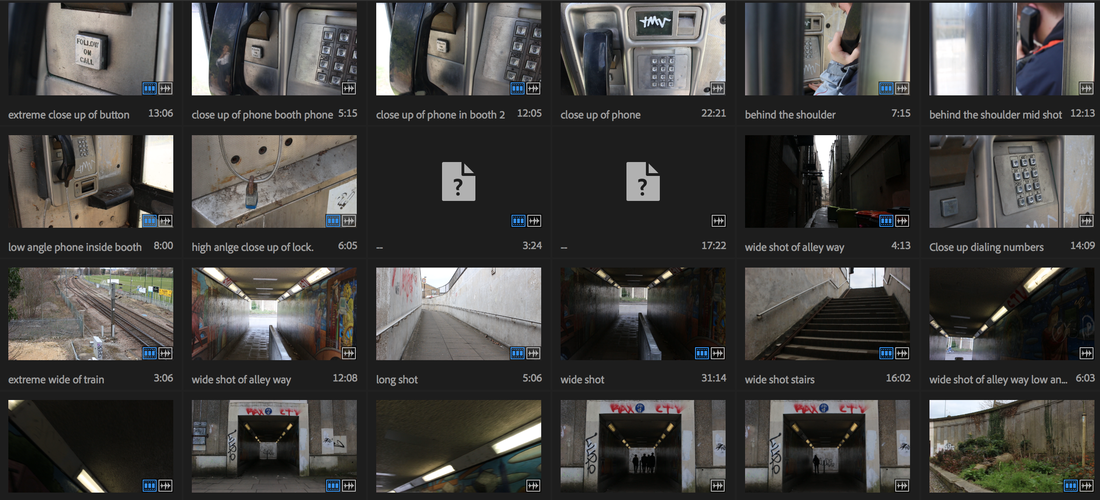

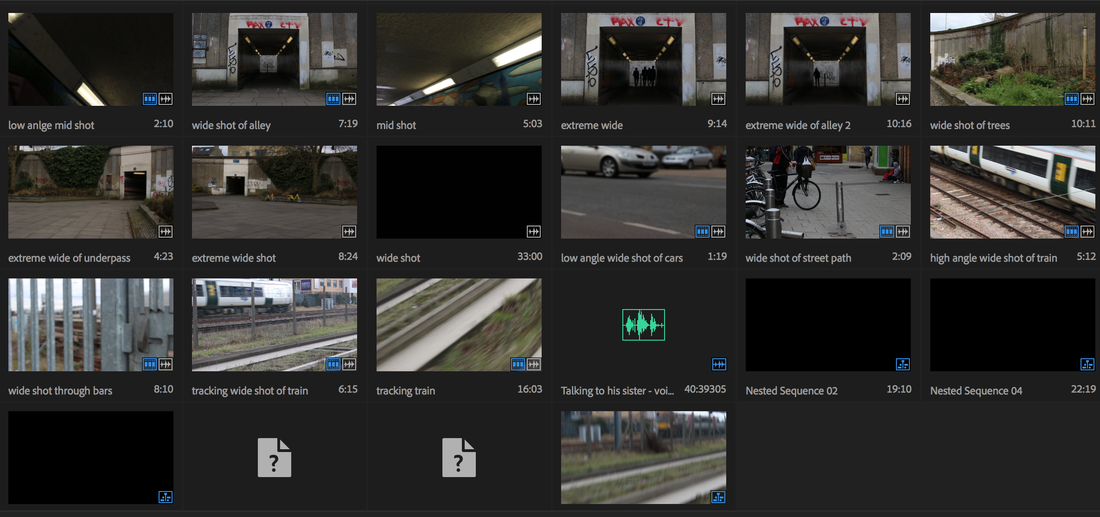
I first started off by importing all my video clips into Premiere Pro, I then started to name all my clips so when it came to editing them together It made it easier to find the shots I needed, those where the ones that corresponded to my shot list and storyboard. After I named all clips I went through each clip I was using and edited out the start and end so I had the right length of the clip and it didn't have any unnecessary noise's such as the action sound and the cut sound, as well as the camera dipping in and out of focus. By doing this it made the shots look more professional and edit well together. After I had cut the start and end of the clips I dragged them onto my timeline and started to arrange them in the order I wanted, to do this I referred back to my storyboard, this is because I wanted to keep it as close to the storyboard as possible.
Editing final production:
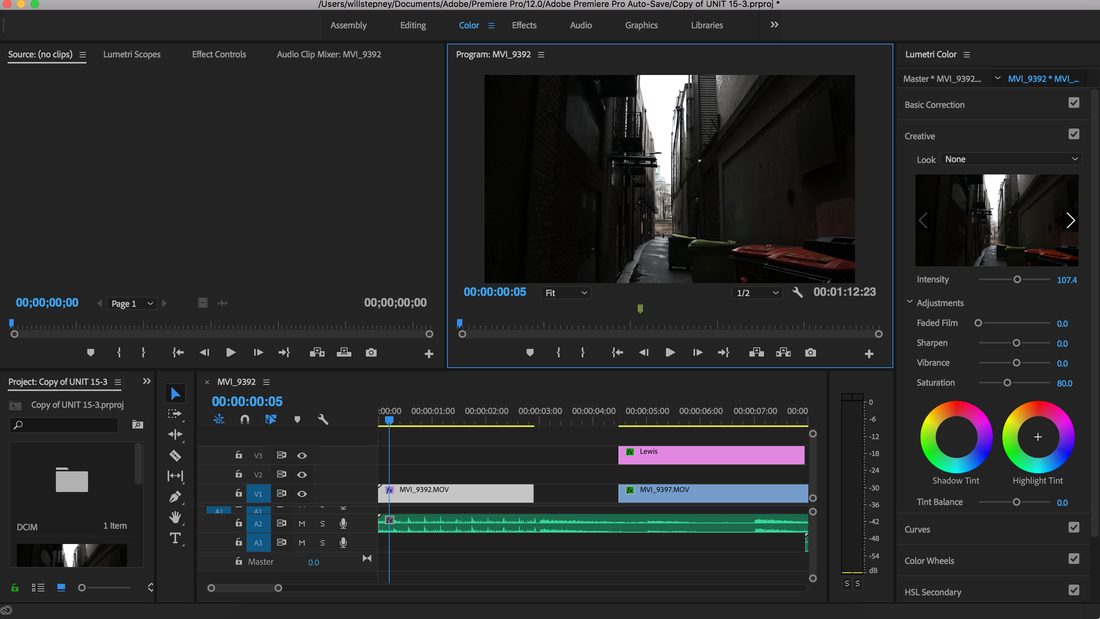
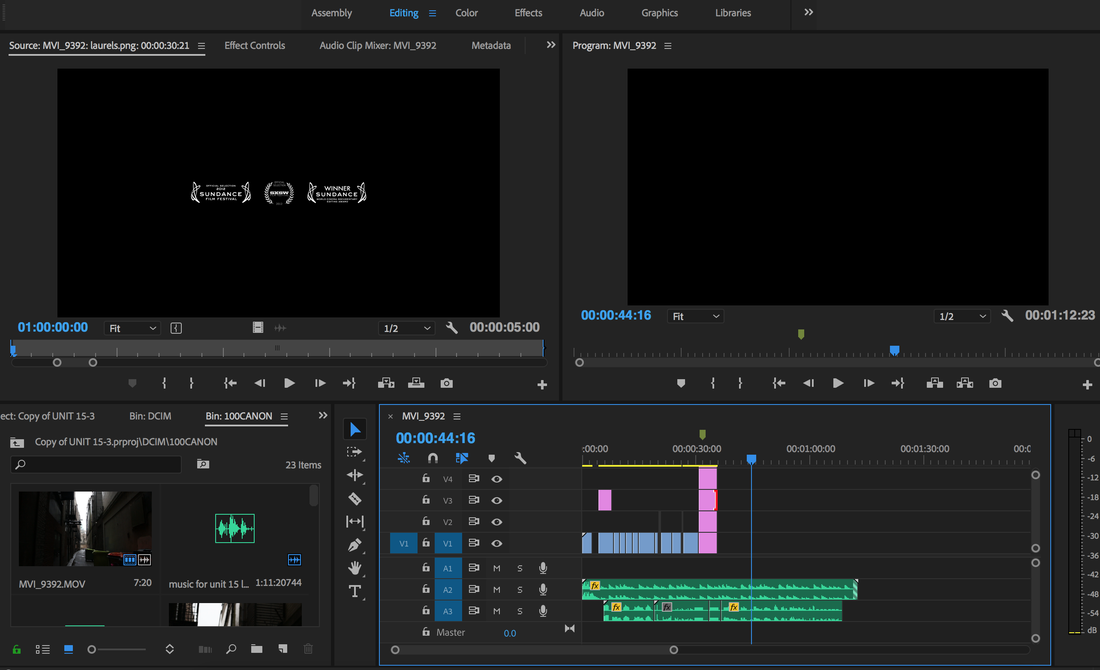
When it came to editing the video clips together, I started by editing them to the desired length I wanted (again I looked back at my storyboard and referred to the timings I had put) I also made the clips the right length so I could follow the client brief, as they state it has to be up to 2 minutes long, so I needed to make sure it wasn't too short or too long. After that, I moved onto colouring all the video clips, the way I did this was go into Premiere Pros colouring section and play around with the colour wheel, shadows, saturation etc. When I found the colour I thought best represented the narrative and the feel of the video I stuck with that colour grade, however a lot of the shots where lighted differently which meant I had to change the colour to every shot a little bit differently so they could all match and there wouldn't be any continuity errors in it.
I felt that the video needed a wider selection of cutting from shot to shot, I felt it was boring just having a cut, to the next one. So I decided to add effects in such as a glitch effect, not only did this make it more interesting it also added to the narrative and the feel of the video; making it feel more rustic and dangerous. I went through my selection of videos and added different cuts to it, one, for example, was a flashing light to the next shot as well as the glitch effect I had in a previous shot. When I edited the video I wanted it to look as professional as possible so I added cinematic lines to Gove it more of cinema trailer feel, I think personally this made it look more professional as well as making it look neater.
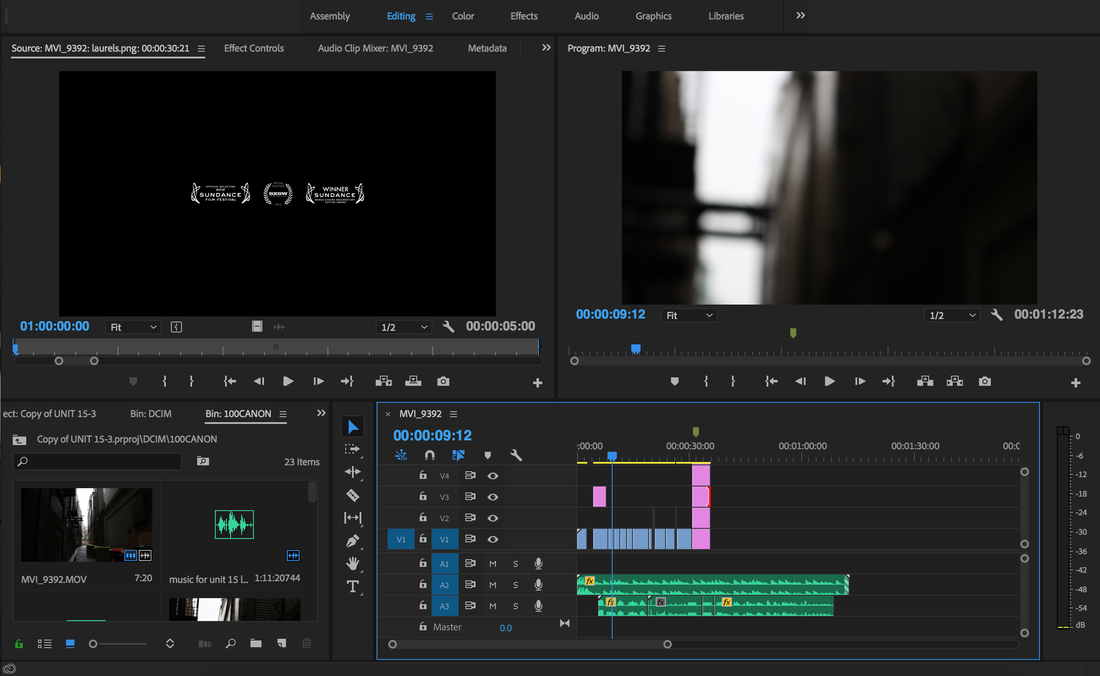
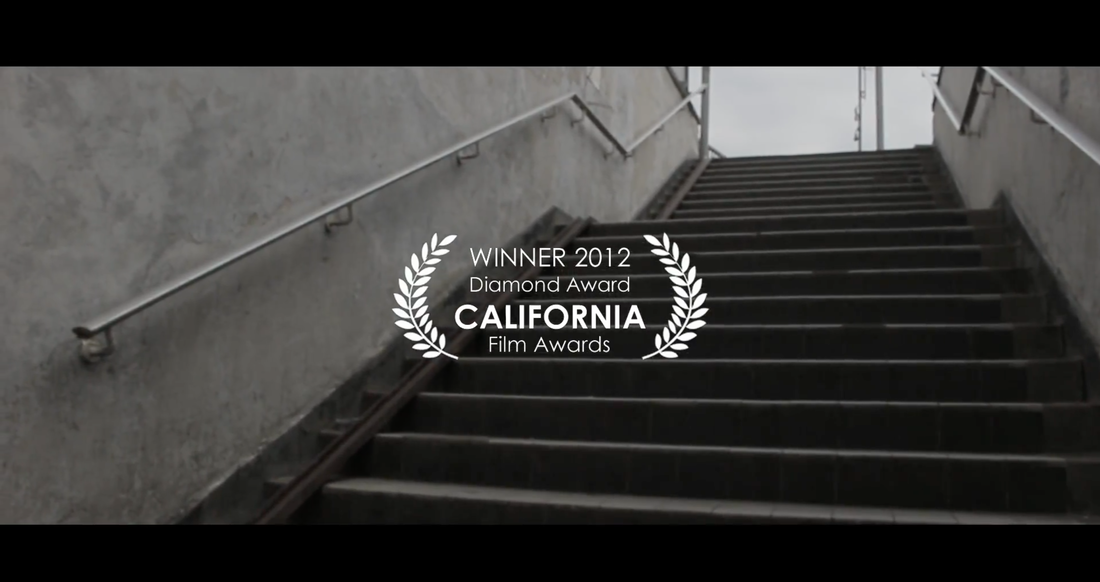
When creating the text I wanted to make the actual font of the text to be as relevant to the narrative as the colour theme was. So when looking through the font selection I decided to go for the 'American typewriter' font as I felt this best represented the theme of the trailer; a rustic, dangerous and lonely feeling. The 'American typewriter' font also made it look very neat and would allow the audience to read it fine. Later on in the trailer, I added film festival awards, I didn't this as this is a code and convention of a film trailer. It also informs the audience on the film, telling them if its worth actually seeing, I think it definitely makes the trailer flow well, as well as making it look effective.
Editing techniques I used: When out filming I used a tripod to gain most of the shots, however for some of them I wanted more of a handheld shot as I feel this is more realistic and gives a feeling of homemade videos crossed between professional looking. So I think by doing this it made the video look very good, however an editing technique I had to use on top of the clips was the stabilisation as I found sometimes they where a bit too shaky and it wouldn't have looked visually pleasing to the audience, but by adding the stabilisation it gave the clip a slight rock which kept that handheld shot I wanted. When referring back to the client brief it says the film trailer will be shown at an "arts and music summer festival called ‘Soundlines’"I think this handheld shot really differs from the normal filming techniques and in my opinion is more art than standard cinema films shots, so by doing this it made it look more professional. Another editing technique was layering the video clips to get that glitch effect, by doing this it changed the film trailer too more of a 'dangerous' feel as the glitch effects looks very jagged, this I feel will entice the audience to watch more and learn more about the character.
I felt that the video needed a wider selection of cutting from shot to shot, I felt it was boring just having a cut, to the next one. So I decided to add effects in such as a glitch effect, not only did this make it more interesting it also added to the narrative and the feel of the video; making it feel more rustic and dangerous. I went through my selection of videos and added different cuts to it, one, for example, was a flashing light to the next shot as well as the glitch effect I had in a previous shot. When I edited the video I wanted it to look as professional as possible so I added cinematic lines to Gove it more of cinema trailer feel, I think personally this made it look more professional as well as making it look neater.
When creating the text I wanted to make the actual font of the text to be as relevant to the narrative as the colour theme was. So when looking through the font selection I decided to go for the 'American typewriter' font as I felt this best represented the theme of the trailer; a rustic, dangerous and lonely feeling. The 'American typewriter' font also made it look very neat and would allow the audience to read it fine. Later on in the trailer, I added film festival awards, I didn't this as this is a code and convention of a film trailer. It also informs the audience on the film, telling them if its worth actually seeing, I think it definitely makes the trailer flow well, as well as making it look effective.
Editing techniques I used: When out filming I used a tripod to gain most of the shots, however for some of them I wanted more of a handheld shot as I feel this is more realistic and gives a feeling of homemade videos crossed between professional looking. So I think by doing this it made the video look very good, however an editing technique I had to use on top of the clips was the stabilisation as I found sometimes they where a bit too shaky and it wouldn't have looked visually pleasing to the audience, but by adding the stabilisation it gave the clip a slight rock which kept that handheld shot I wanted. When referring back to the client brief it says the film trailer will be shown at an "arts and music summer festival called ‘Soundlines’"I think this handheld shot really differs from the normal filming techniques and in my opinion is more art than standard cinema films shots, so by doing this it made it look more professional. Another editing technique was layering the video clips to get that glitch effect, by doing this it changed the film trailer too more of a 'dangerous' feel as the glitch effects looks very jagged, this I feel will entice the audience to watch more and learn more about the character.
Editing audio:
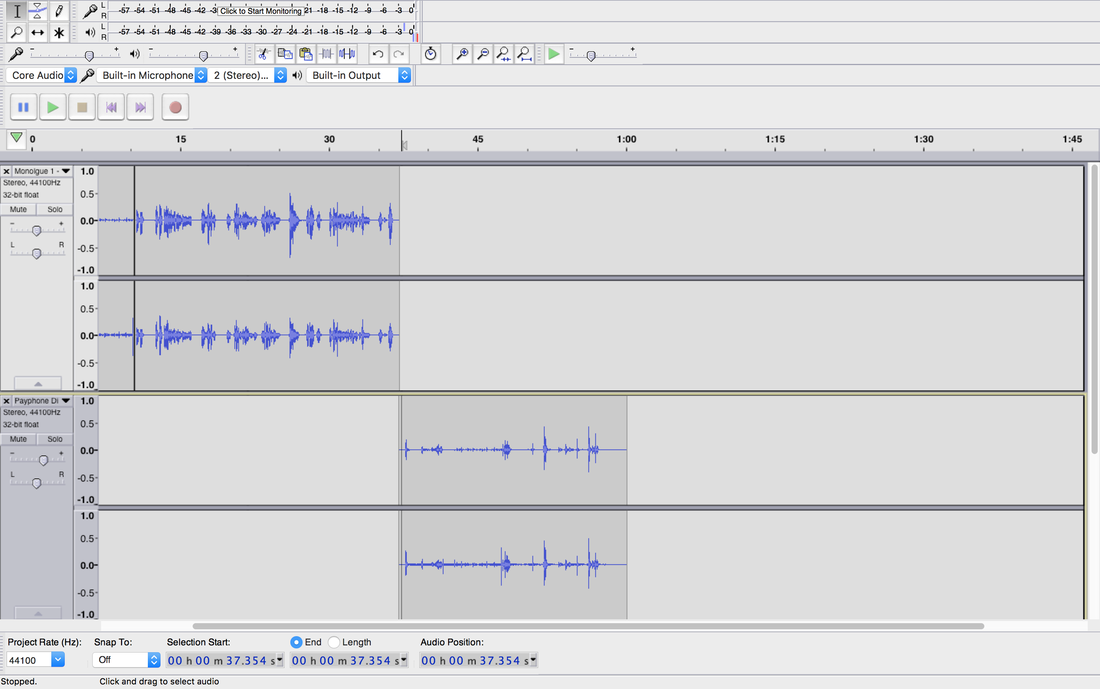
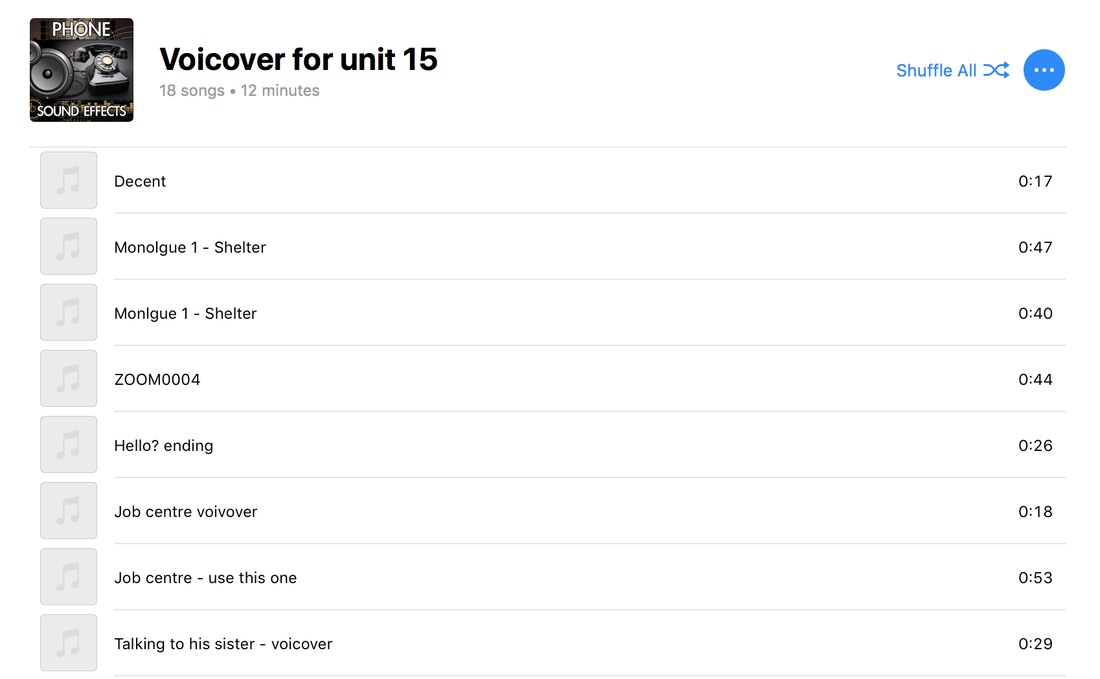
I started off recording the single track of Oscars dialogue, I did this on an H2 zoom microphone as this has great quality. After I had recorded his section I dragged the audio in Audacity and edited out the end and the beginning of each audio clip, so we only heard Oscar's voice and not my "Action". After I had edited the clip I went up to the 'Effects' tab along the top of Audacity to change the pitch, volume and the echo on it, I first changed the pitch by a fraction, just so his voice was a little deeper I then changed the volume by lowering it. I did this as our main character is calling from a phone booth so his voice wouldn't be too loud, I also put a slight echo on it, because we as the audience are hearing him through the other end of the phone.
Once I had created the edit for the dialogue I exported it from Audacity as a MP3 file as this was the most effective way of doing it (As well as it taking up less storage) I then put that MP3 file into premiere pro where I matched up each dialogue segment to the clips I wanted it to be on. I felt this was very effective as we heard what our character was talking about, as well as seeing the dangerous streets where he lives. I also think the echoed phone booth sound really worked well, and it genuinely sounded like he was calling from the other end of a payphone.
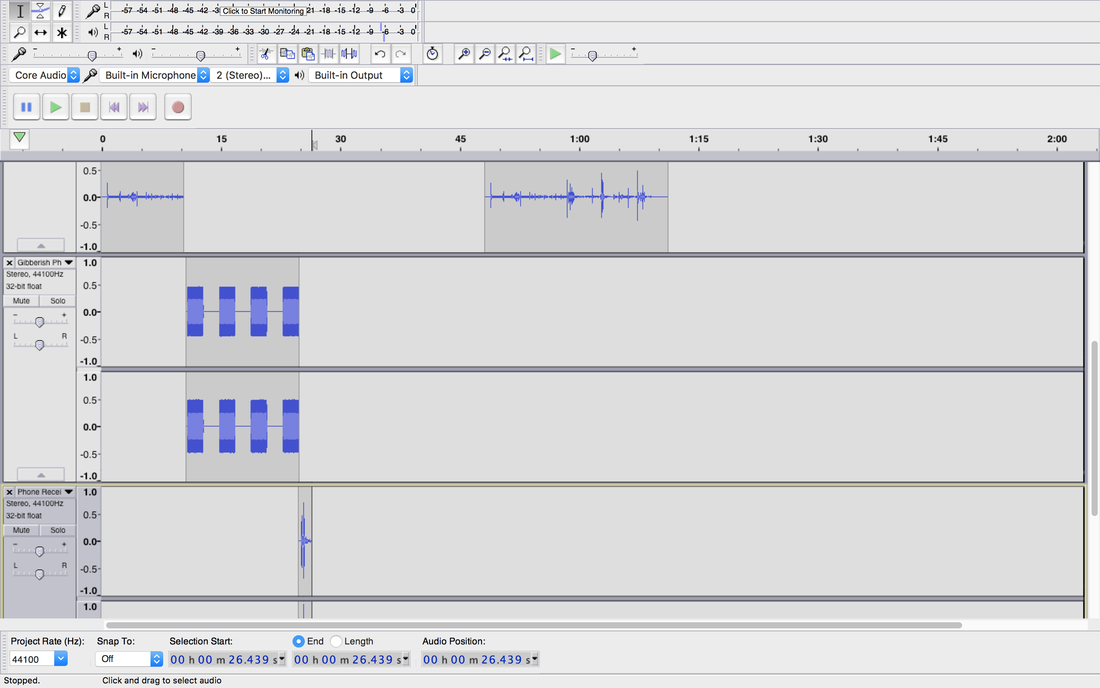
When out filming on the streets of Cambridge, I recorded a wild track, roughly 2-3 minutes long of just noises in the streets. I decided to go down an alleyway to record some diegetic sounds as I felt this would make the video seem more realistic, I recorded sounds of air vents going off as well as people walking around and peoples footsteps in puddles. With this wild track I decided to add it to the background of my edit at a very quiet level so the audience can just hear the diegetic sounds of the streets, by doing this I am putting the sound of the streets into the audiences head without them really realising. This then allows the audience to paint a picture more clearly of what it would be like to live on the streets.
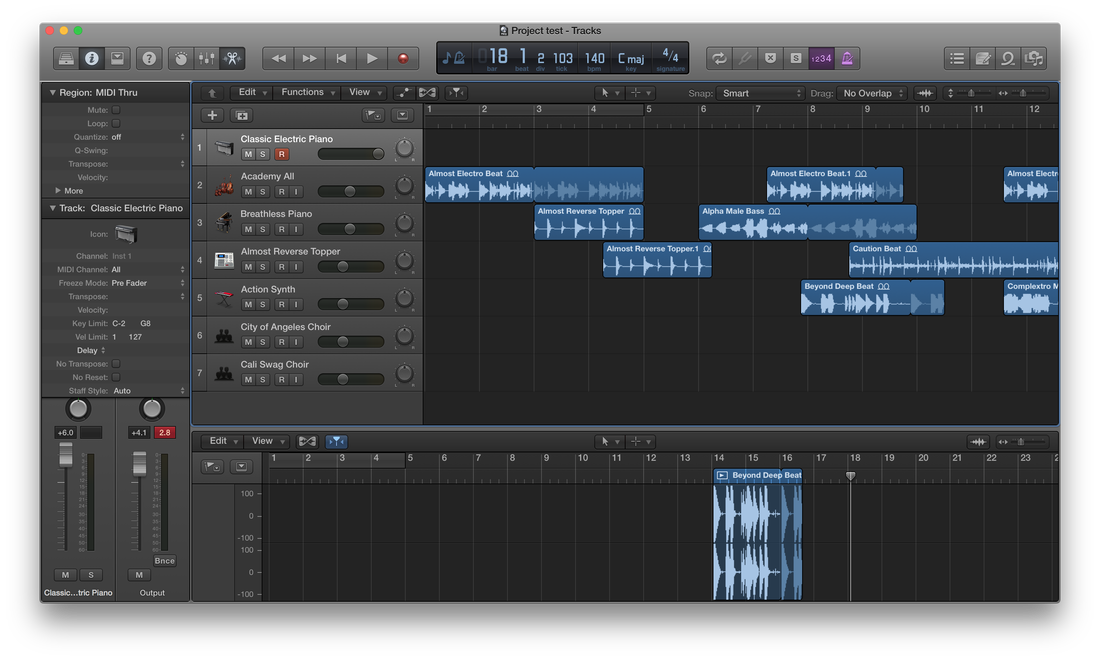
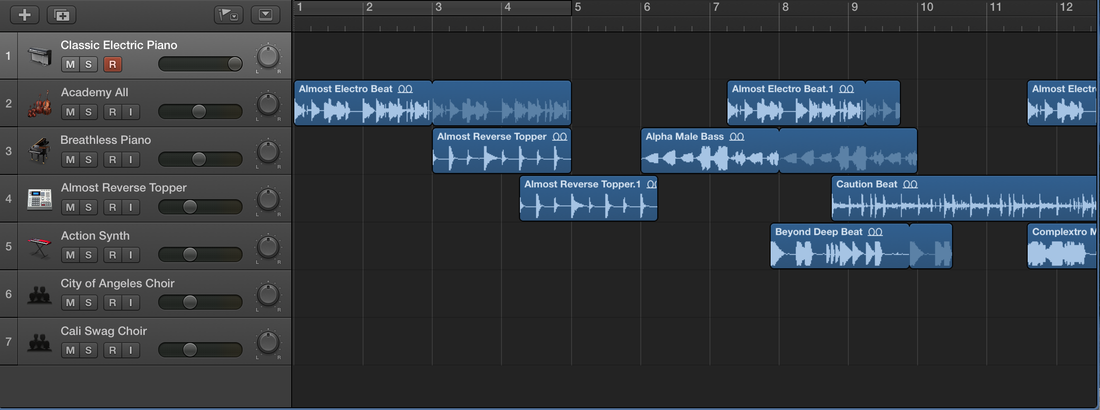
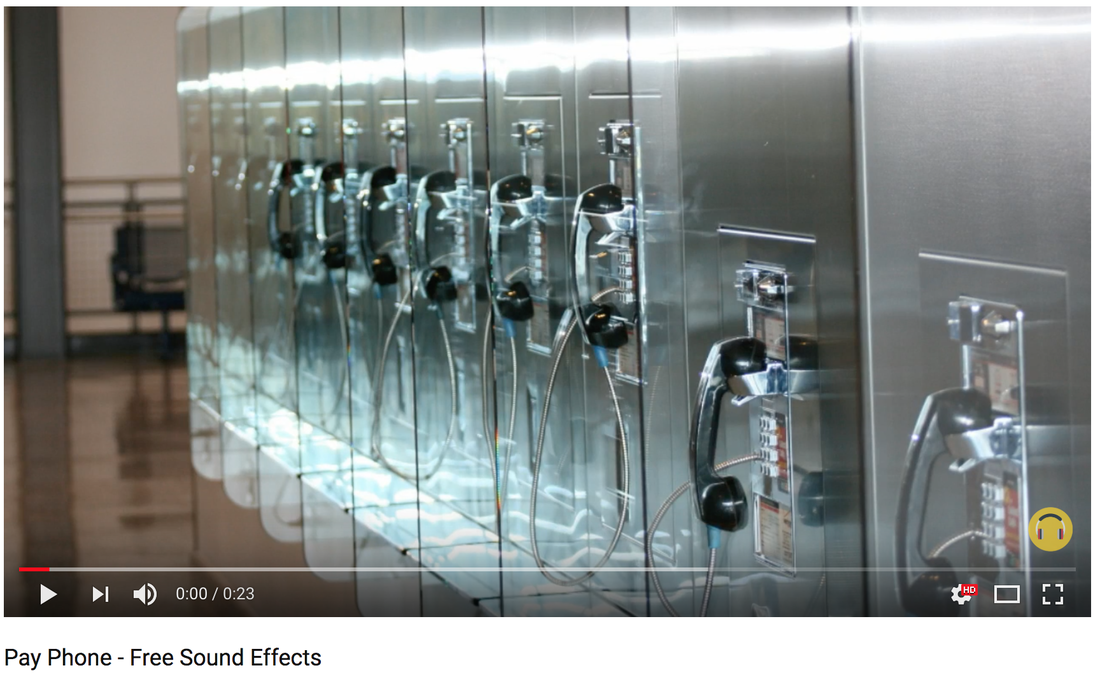
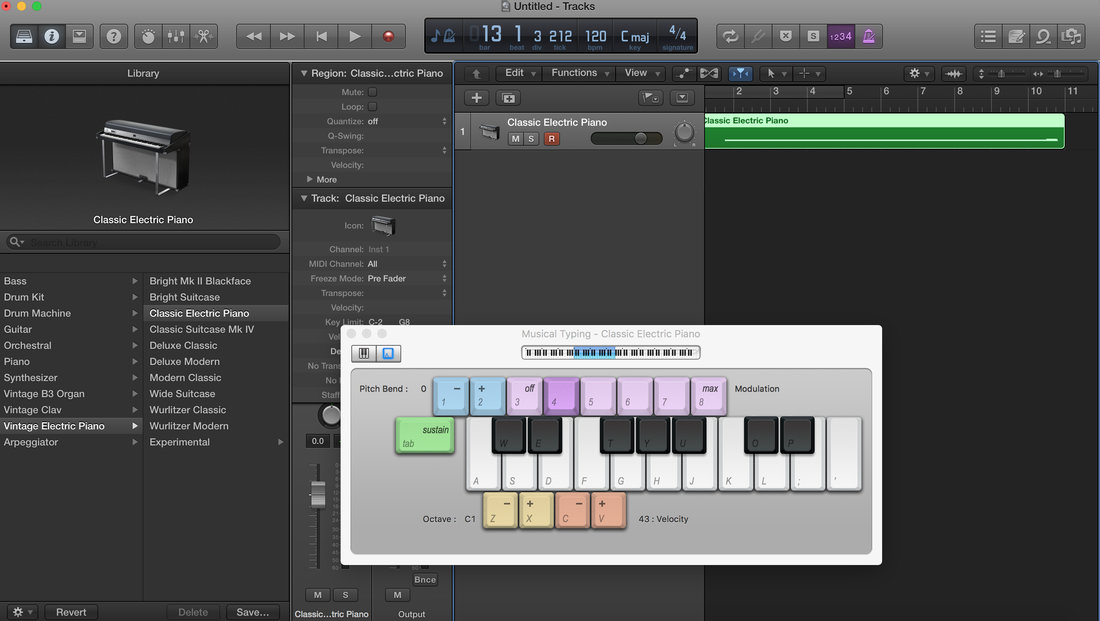
In regards to the sound effects I used two copyright free/royalty free sound effects, one was the coins going into the payphone and the other was the "sorry but the number you have dialed has not been recognised" these sound effects really made the video sound very sinister and scary, my target audience said the sound effects are really "piercing" which is the feel and theme I wanted to go for. With the piano I decided to only go for, three fo four notes that where a lower G which would then give it more of a dark tone, I also turned the volume down for the piano as well as I only wanted it to be an undertone. I think by adding these sound/sound effects really helped the creation of the piece as a whole and made it sound professional and would entice the audience to watch more of it
I think sound played a key role throughout this video and I feel personally the sound worked very well and added to the storyline.
Once I had created the edit for the dialogue I exported it from Audacity as a MP3 file as this was the most effective way of doing it (As well as it taking up less storage) I then put that MP3 file into premiere pro where I matched up each dialogue segment to the clips I wanted it to be on. I felt this was very effective as we heard what our character was talking about, as well as seeing the dangerous streets where he lives. I also think the echoed phone booth sound really worked well, and it genuinely sounded like he was calling from the other end of a payphone.
When out filming on the streets of Cambridge, I recorded a wild track, roughly 2-3 minutes long of just noises in the streets. I decided to go down an alleyway to record some diegetic sounds as I felt this would make the video seem more realistic, I recorded sounds of air vents going off as well as people walking around and peoples footsteps in puddles. With this wild track I decided to add it to the background of my edit at a very quiet level so the audience can just hear the diegetic sounds of the streets, by doing this I am putting the sound of the streets into the audiences head without them really realising. This then allows the audience to paint a picture more clearly of what it would be like to live on the streets.
In regards to the sound effects I used two copyright free/royalty free sound effects, one was the coins going into the payphone and the other was the "sorry but the number you have dialed has not been recognised" these sound effects really made the video sound very sinister and scary, my target audience said the sound effects are really "piercing" which is the feel and theme I wanted to go for. With the piano I decided to only go for, three fo four notes that where a lower G which would then give it more of a dark tone, I also turned the volume down for the piano as well as I only wanted it to be an undertone. I think by adding these sound/sound effects really helped the creation of the piece as a whole and made it sound professional and would entice the audience to watch more of it
I think sound played a key role throughout this video and I feel personally the sound worked very well and added to the storyline.
Exporting the final product:
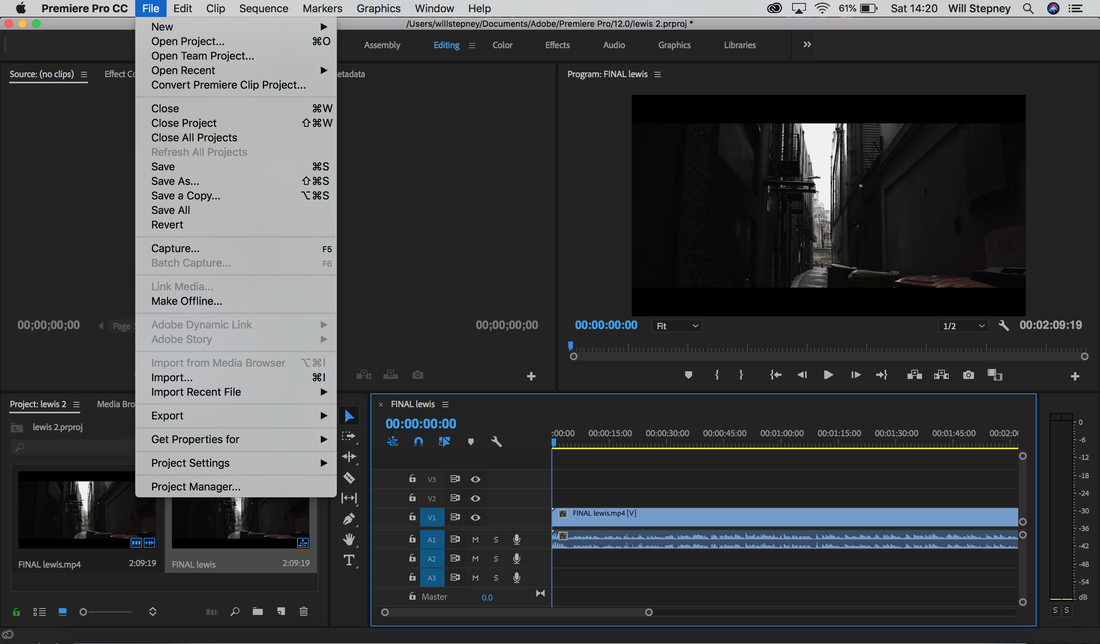
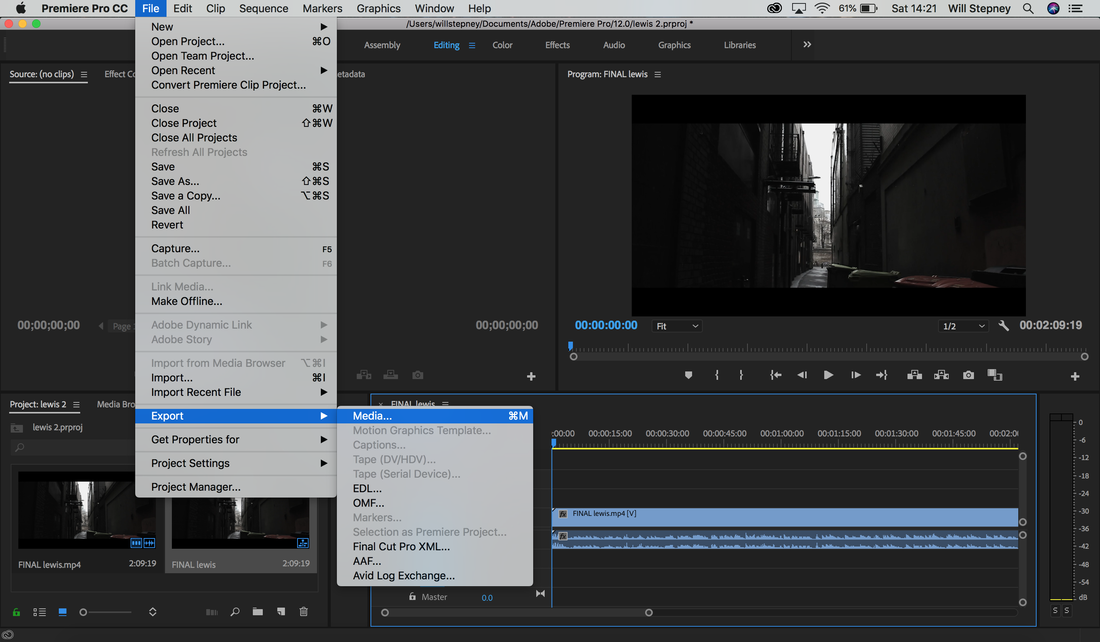
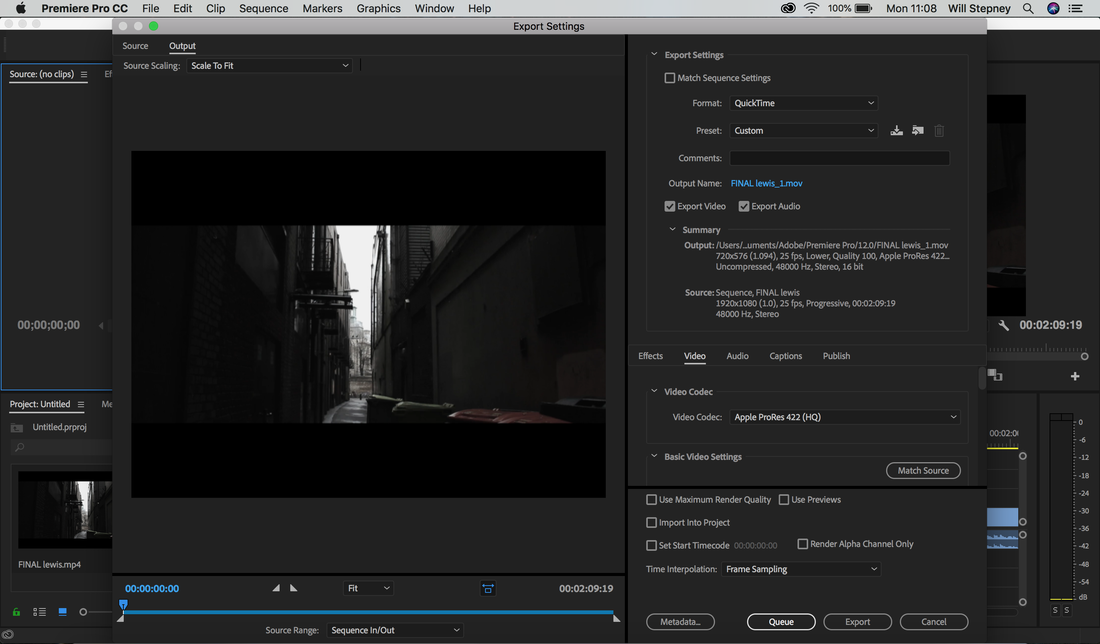
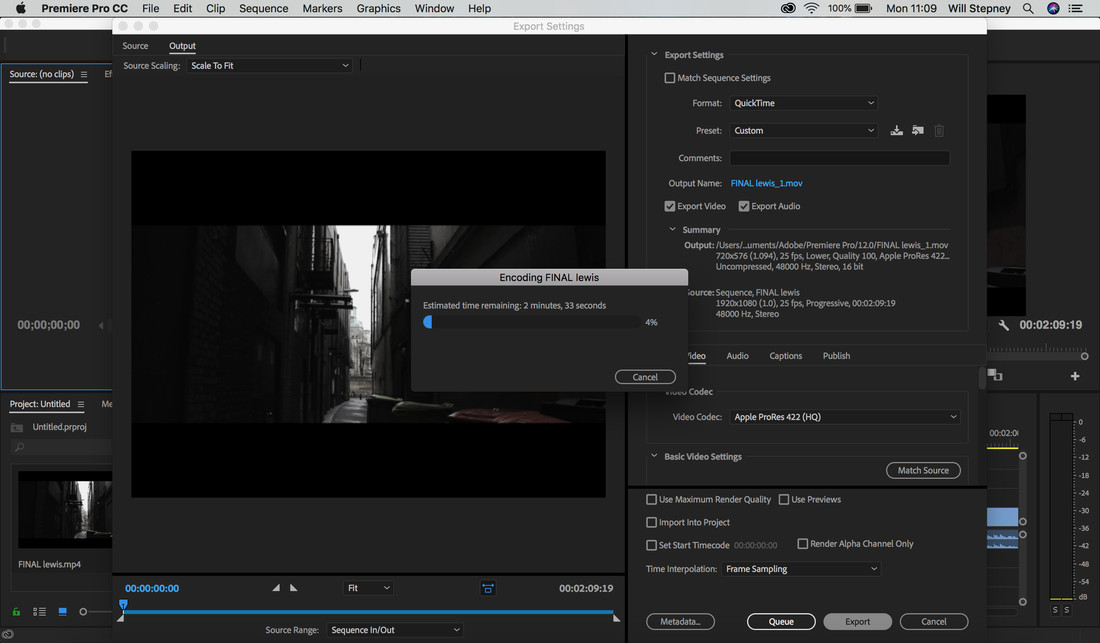
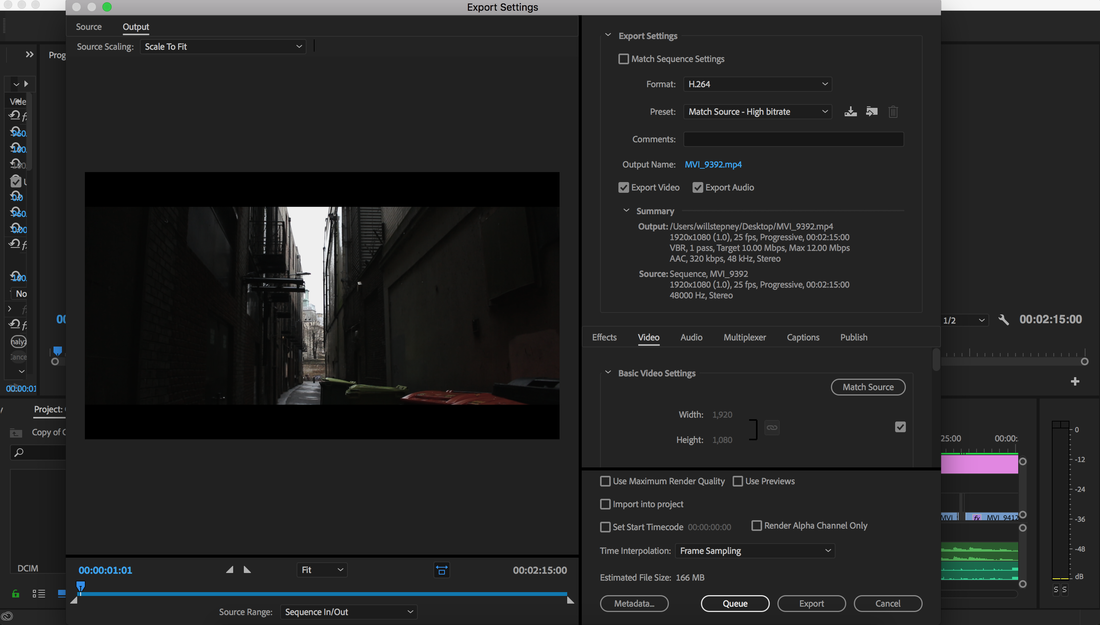
When I exported the final product I went to 'File' then 'export' on premier pro, I chose the codec '
"Apple ProRes 422 is a high-quality compressed codec offering nearly all the benefits of Apple ProRes 422 HQ, but at 66 percent of the data rate for even better multistream, real-time editing performance. The target data rate is approximately 147 Mbps at 1920x1080 and 29.97 fps."
To export the final product I clicked file, then shared and then on Master File because it allows a really high quality for all players not like the options that are only for 'Apple devices.' I then named the trailer and clicked H.264 because it is a really high quality with the plus of taking up less file size so the trailer can be distributed anywhere really easily and quickly because it's only 146 megabytes. I then saved it on my hard rive and uploaded the trailer to YouTube so it can be shared to anyone with a link.
Final product:
Changed made from my second offline edit:
- Colouring
- Transitions
- Audio dubbing
- diegetic sound added in post-production
- Text made bigger
- Sound quality changed
I then showed my trailer to three groups, I gave them all a questionnaire with a set of questions that Iw dated them to answers, these where there reults:
|
|
|
M3: Justify the visual and audio effects used within the promo
Visual effects and audio effects I used in my audio-visual promo and how it follows the specific conventions to create meaning for the target audience.
Visuals effects:
|
The first visual effect I added was the title, and the text I used was 'old typewriter'. I used this font as it is a very harsh looking font as well as being a very old school font, I think the connotations given off by using this font are, loneliness, harsh, dark and sadness. I used this font as well because I want to be following the conventions of a TV drama, a lot of Tv dramas tend to use these basic fonts as they often evoke feelings towards the audience. I think personally by choosing this font it created meaning towards the audience, as a lot of my audience will remember the typewriter and it might bring back certain memories to the audience.
|
|
|
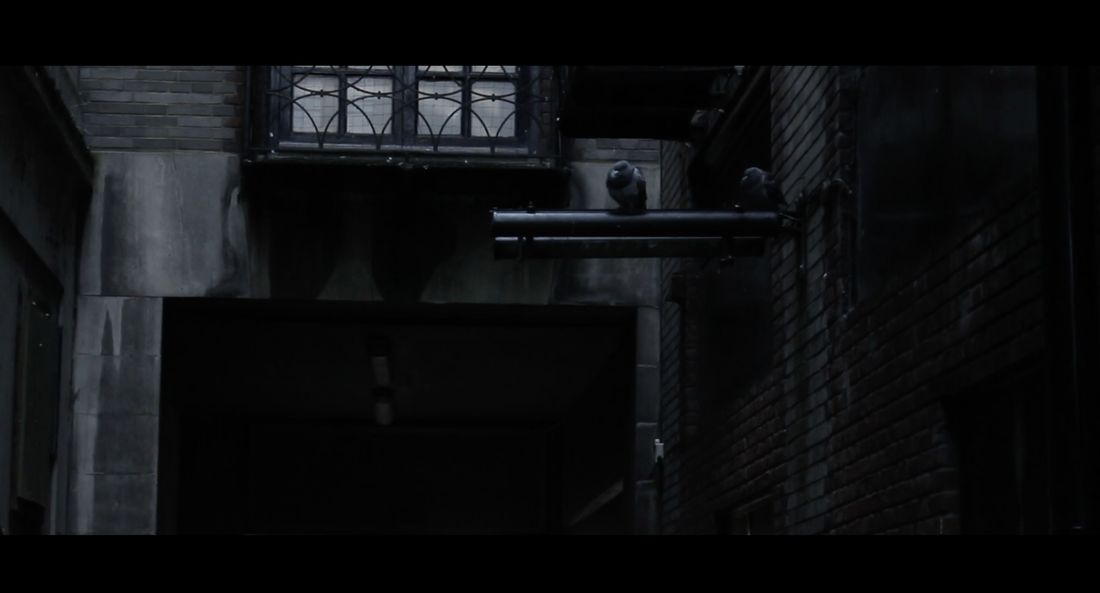
A second visual I want to talk about is the colouring and how it had an impact on my audiecne as well as the story line. the colour grading I did on nearly all of the shots was to greyscale it down and turn the blues up, to give it connotations of coldness and sadness. I used it in most of the scenes to portray sadness and also to make the scenes feel cold, so we can feel for our main character. In this example here I used a well lit alley way and graded to a cold dingy sad looking alley way that represents coldness and sadness. By using these colours it follows conventions of TV trailers, it is also very effective on my audience making them feel for the character as they see the surroundings he lives in.
|
|
|
In the video, you can see the use of cutting one shot to the other, and I did this by using a glitch effect which you can view in the video. By using this transition from shot to shot I think personally is important for the audience to see, as it allows the audience to get the feeling the streets he lives on are rough and dangerous. This vigorous cutting and glitching represent to the audience that its unsafe on the streets and not a nice place. The convention of a glitch effect represents tension and stress, like TV dramas for example or action films. I personally think these shots follow this convention as the storyline matches the effect and feel of the video.
|
|
|
This visual effect I added is of a film award, this follows the conventions of a film trailer as it allows the audience to gain knowledge on how well the film has done and what awards it has won in the past. I think by adding this visual it follows the conventions of a film trailer and it gives my audience an understanding if the film is worth going to see. This visual create meaning for the audience as it allows them to gain an understanding of how well the film has done, by showing this visual it will make the audience want to come to watch it as it has won awards.
|
|
|
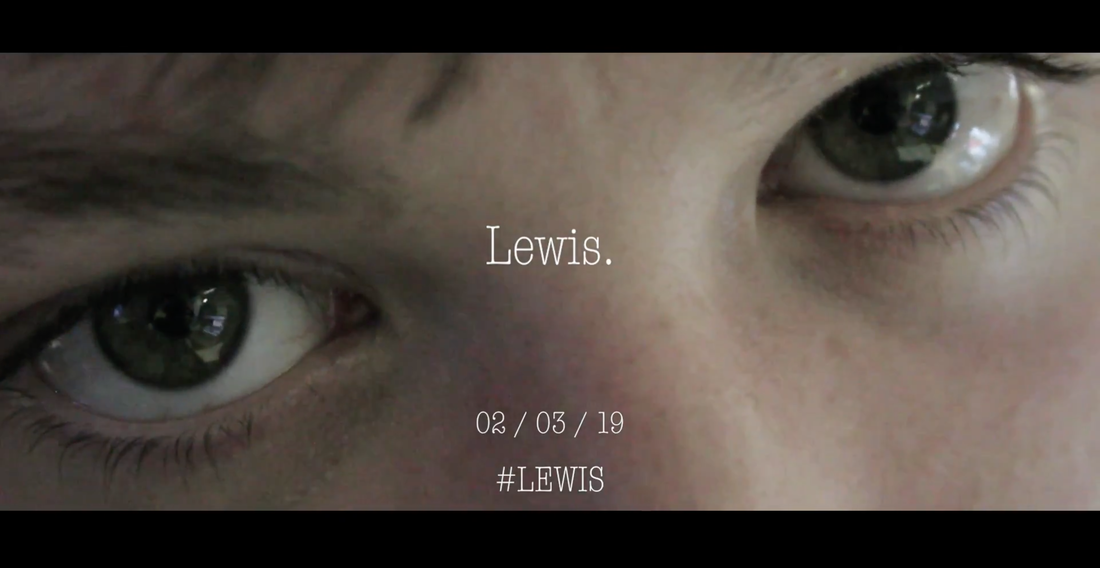
The last visual I used was text but I also placed the release date of the film as well as a hashtag. This follows conventions of a film trailer as it shares to the audience when they can go see it, as well as seeing what other peoples opinion of it were, as they can view everyone's hashtag. I sued the same font from the strait of the advert to remind my audience of what they're watching, I also used the same font because as I mentioned earlier it may evoke feelings to my audience.
|
|
Audio Effects:
|
The sound effects I felt played a key role in this trailer as it allowed the audience to get a clear picture of exactly what is happening. This payphone sound definitely creates meaning for the audience as it will be something that is really recognisable and it may have some connotations to certain audience members. I feel the payphone sound effect created a massive effect on the video giving it a scary feel as the sound effect is so dominant throughout the trailer. I think the sound effect worked really well with the story as it allowed the audience to understand exactly what was happening throughout and the sound effect follows conventions of film trailers having it at the right level and sounding professional.
|
|
Music used in this was created by me on Logic Pro X, I decide I wanted a hard piano beat throughout something that was memorable and hard hitting which I feel it did. The piano music allowed the audience to understand that this is a social realism trailer and about something very serious. This music follows conventions of a film trailer as a lot of film trailers use this strong piano piece with only a couple notes to make it feel sad and depressing. I think this was very effective on my audience and it worked well-creating emotion to my audience.
|
|
The voiceover I used was the main focus of the trailer as this told us the story and exactly what was happening. By having this voiceover it allows the audience to make up in there heads how he got himself in this disaster, it will also leave the audience wanting to find out more which will make them go watch the film. This voiceover follows conventions of a film trailer as a lot of film trailer tied to use a voiceover to either create motion or to convey a story to the audience. I feel this voiceover has an effect on the audience leaving them wanting to know more about the story and our main character.
|
