Create the content for the animation
Building the set:
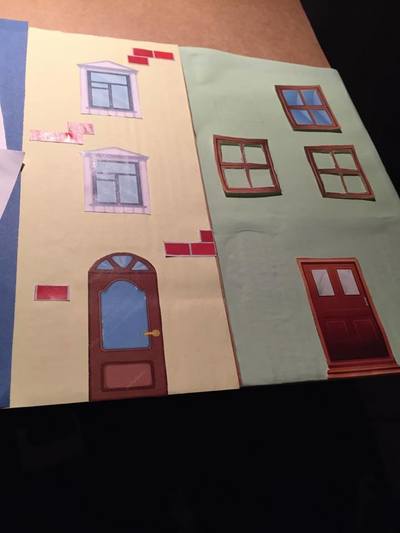
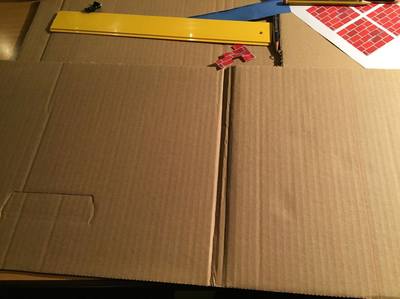
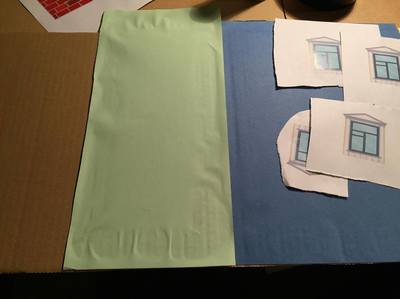
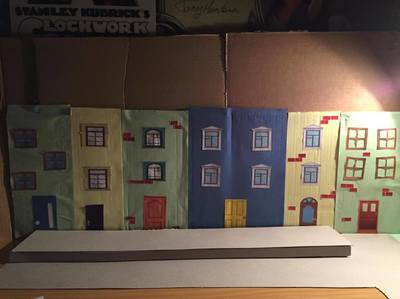

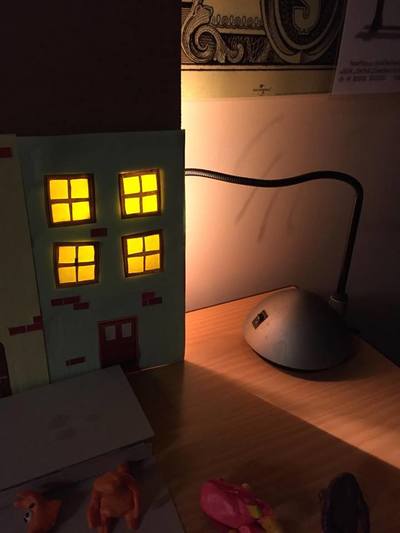
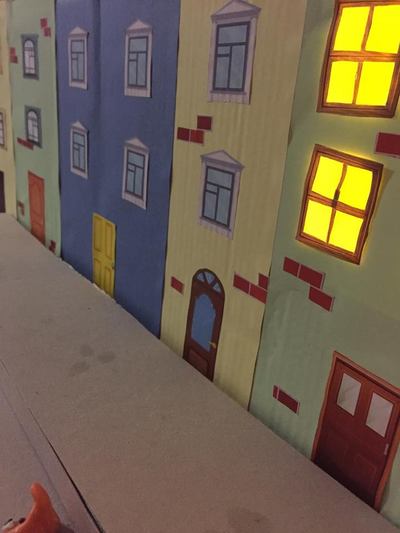
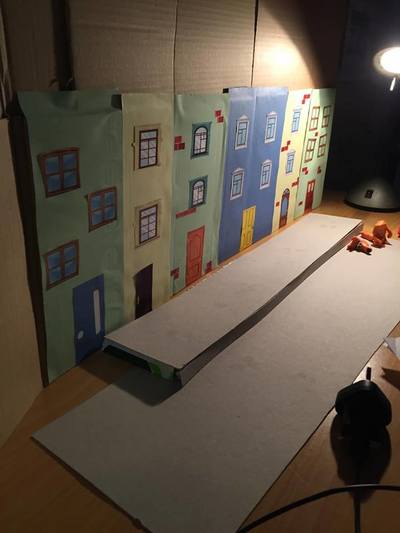
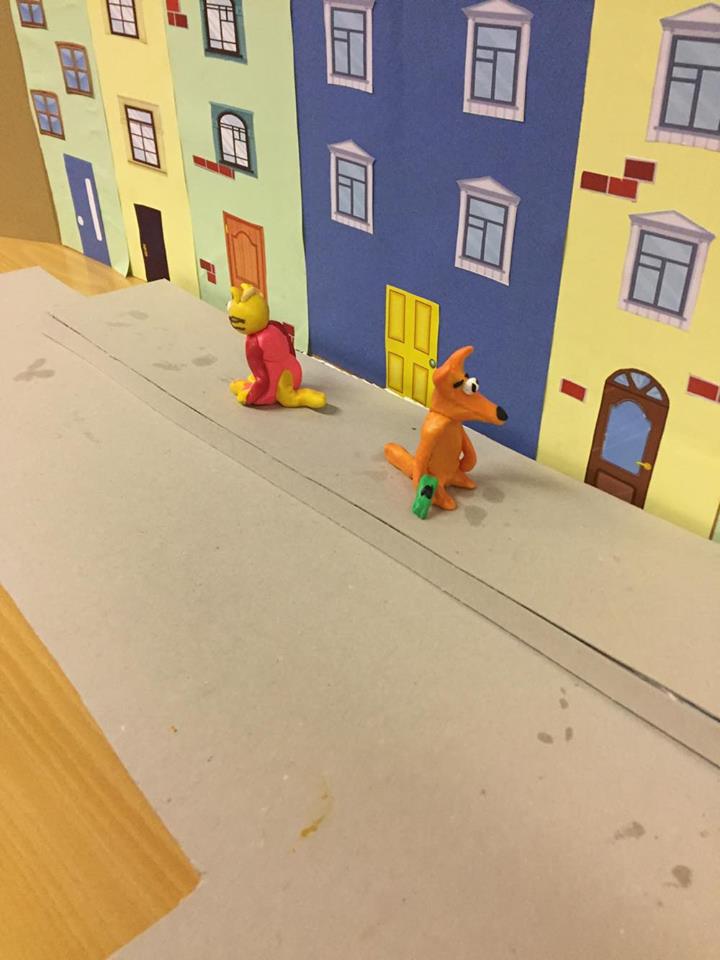
When building my set, I started of with a cardboard background this was for the structure of the buildings that are meant to be in the background of the set, the cardboard used for this was sourced from the college that I got given for, for free. I started off by cutting the size of the cardboard I needed for example getting it to the right perspective of my characters, I needed the right height and width for each building so it didn't look out of perspective from the characters once I did this I traced with a pencil and measured how tall each building would be with a ruler, once I had completed that I started to cut the approbate shapes and height for each bit of the set buildings. I then referred to my environment concepts for the colours of the building, on there I researched cartoon buildings and I got a lot of pink, yellow and blue coloured themes so when it came to caulking each bit of the set I looked at my theme boards and took inspiration from that for example I used bright coloured paper and stuck it onto the cardboard in the shape of houses, I then cut all the coloured paper to different sizes to make different sizes of houses as well as making them look brightly coloured and have a similar concept to the themes I sourced online. By doing this I think it made it look more like a cartoon town rather than having it as just plain cardboard this definitely made it look more affective . After this I then printed put cartoon windows and doors from online which where all copyright free images, I then sized them up to the sizes I wanted that would match the size of each of the buildings on my set, I then cut them out and stuck them on. On one of the set of windows I cut holes through the cardboard and placed a light behind the cut out to give it an effect that lights are on in side, I think this looked very defective and gave it a real 3D look and make it seem more realistic. I then built a pavement for the characters to stand on, it was made out of cardboard and grey card I made it to around 2cm of height and around 15cm long I used two pieces of card so it made the pavement look like it was 3D and was standing up from the road. I think this made it look more cartoon like and gave it a better dimension.
Building my characters:
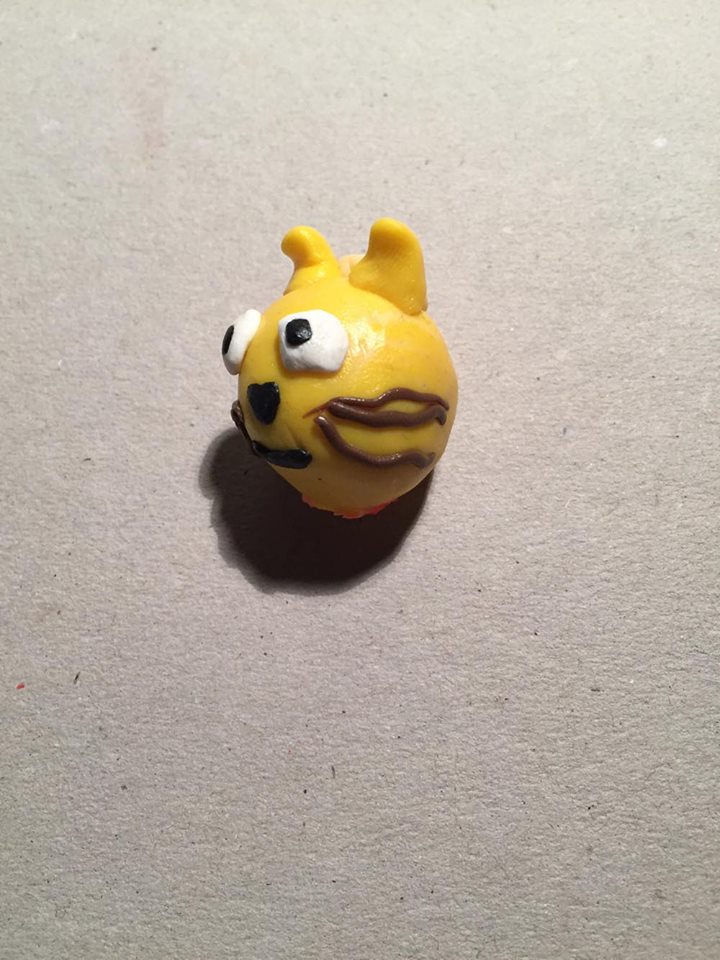
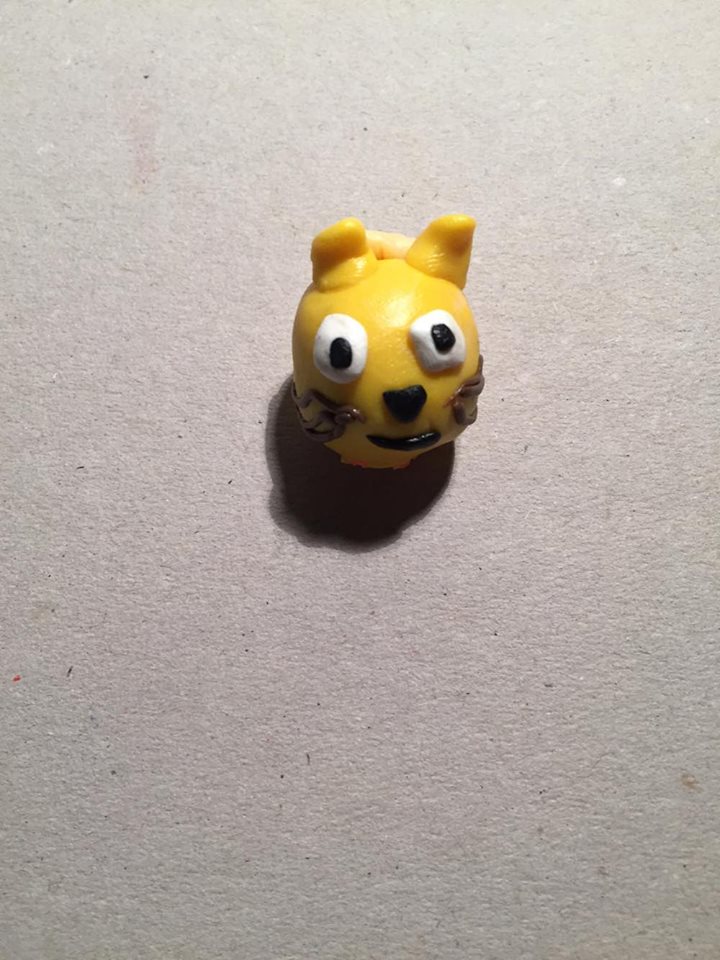
Main character - Cat
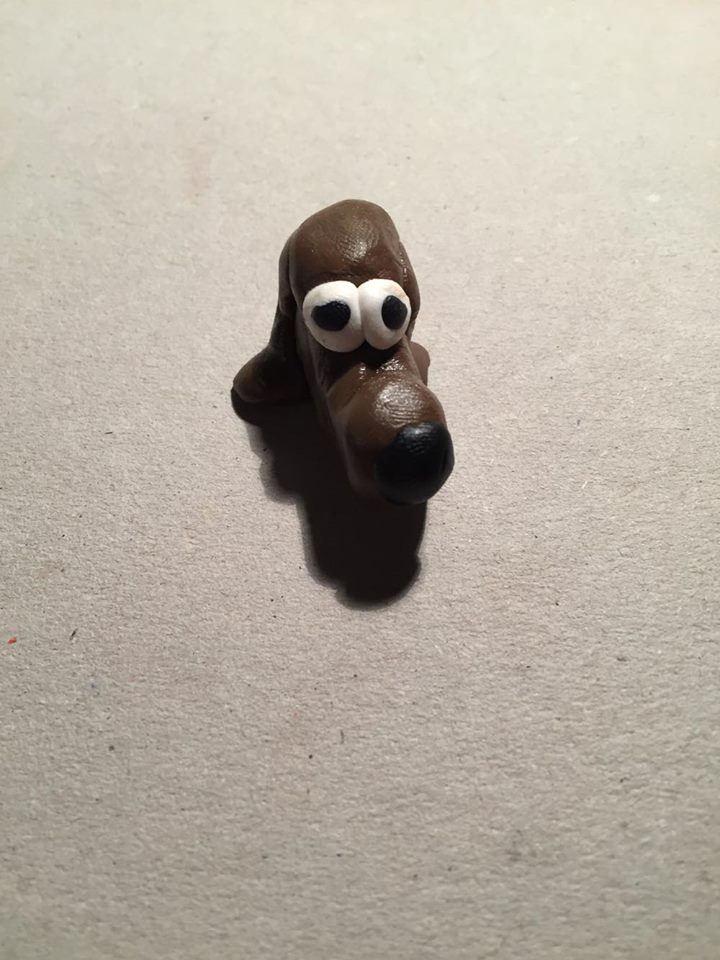
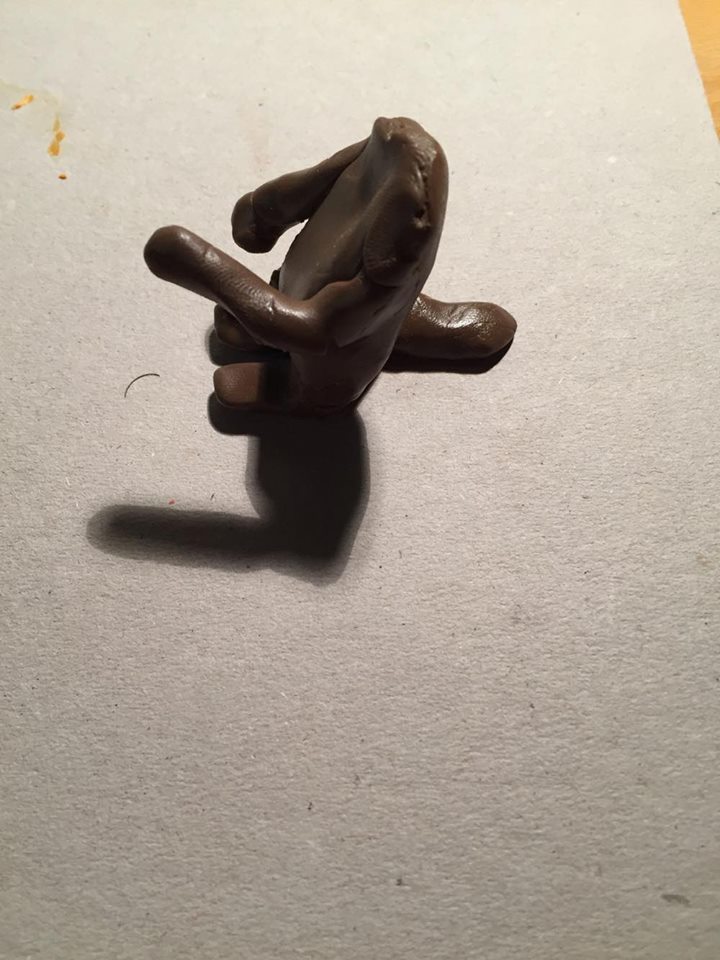
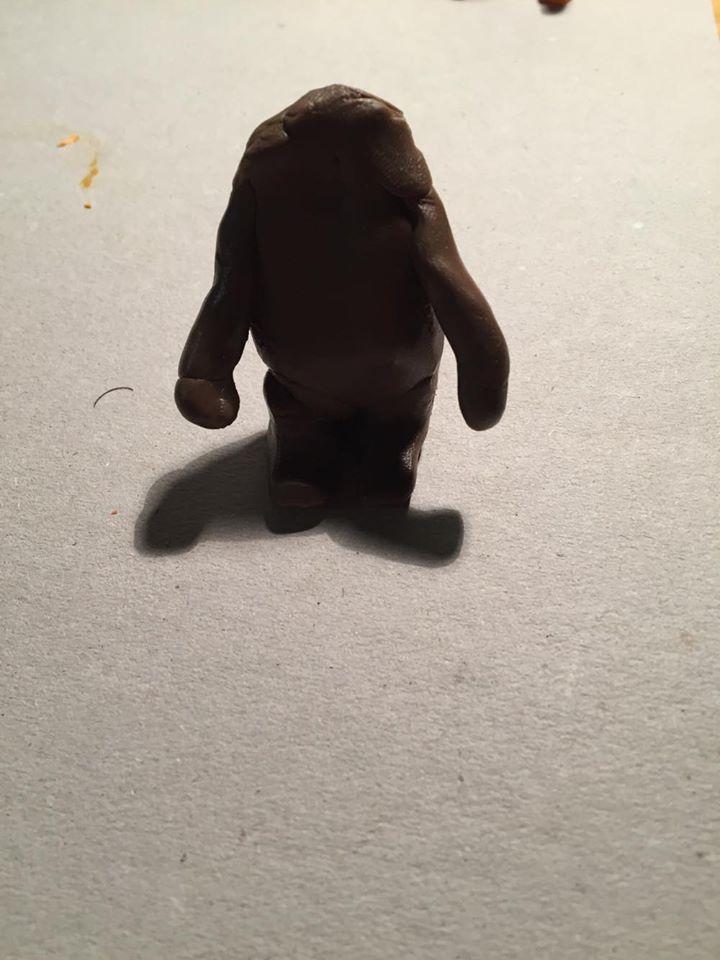
Second main character - Dog

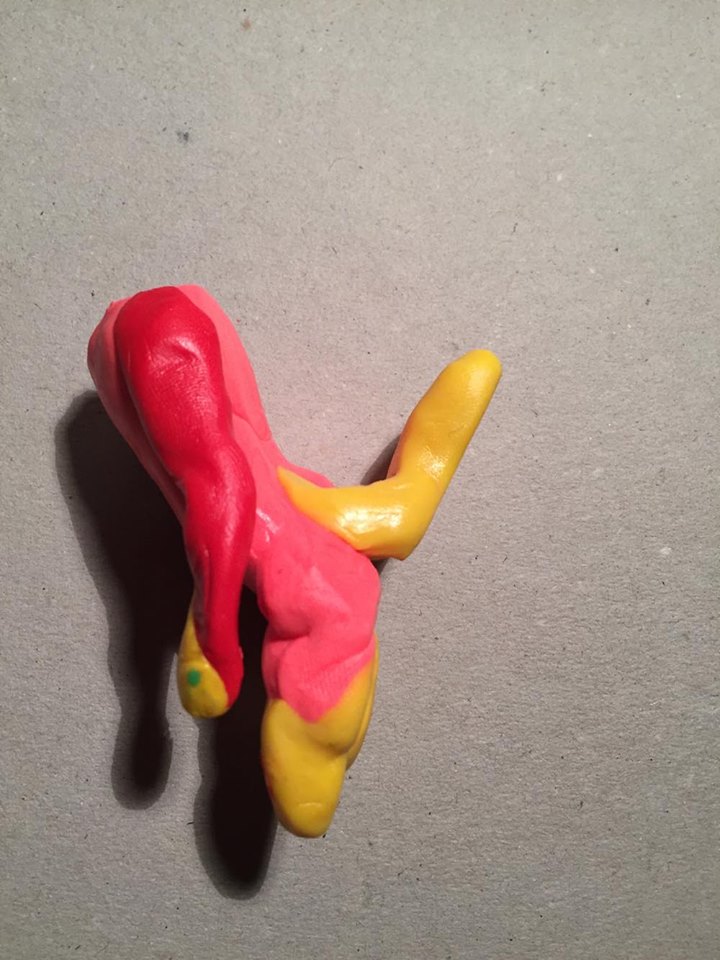
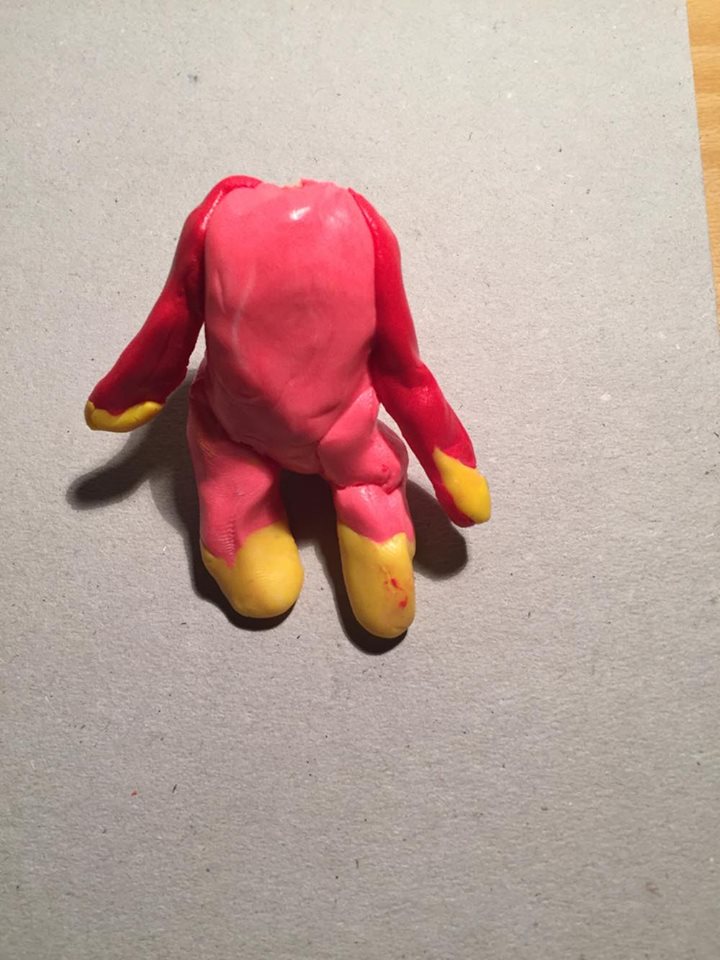
Third main character - Fox

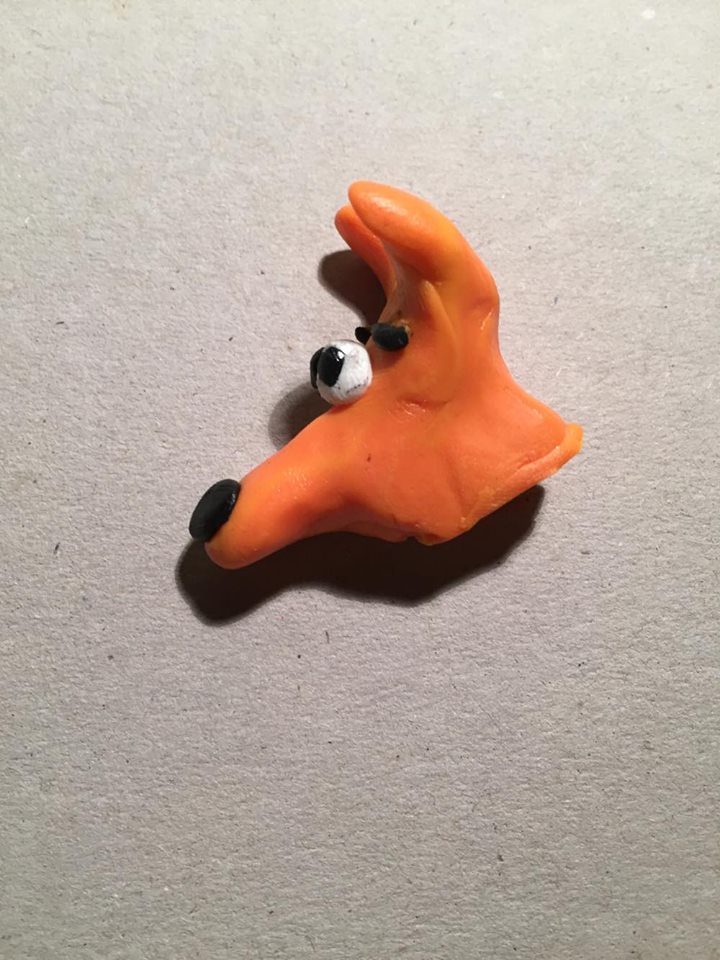
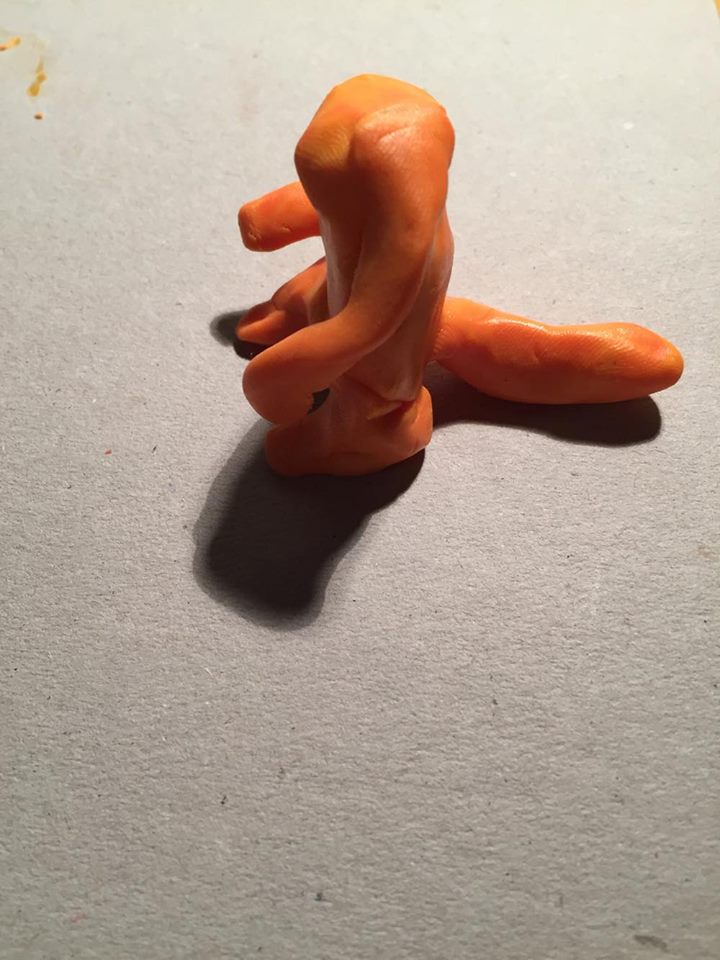
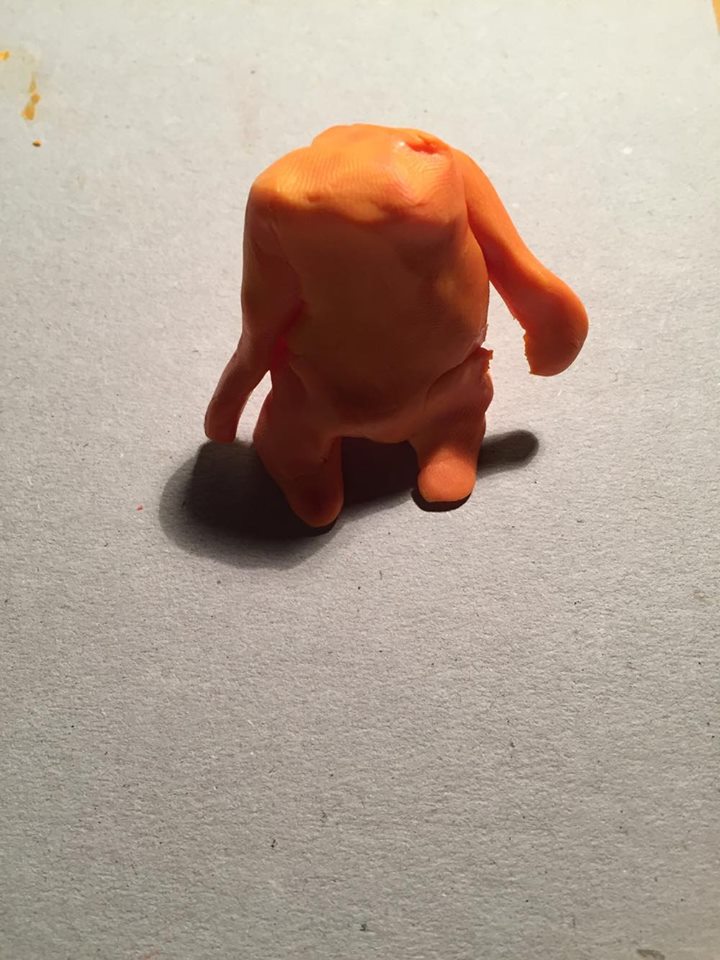
When creating my characters I made sure the whole time I had my chapter concept beside me so I could go back and refer to it, as that way I could easily start to share and mould my chapters ti the desired look I wanted. Before I stared to mould the characters together I referred to me colour theme and character theme boards so I could get an idea of what colour the Characters need to be. So for example for the dig I needed a dark brown so I had to mix the light brown with a bit of the black clay to give me that darker brown colour, for the cat I used yellow for the body parts and a pink/red for the clothes, for the pink/red I had to mould several different colours to get this perfect colour. And for the fox I mixed orange, yellow and red together to get that bright orange, which personally I thought looked perfect. After I had all the colours mixed to the right shade and to my wanting, I moved onto mould the bodies into the right shape, when moulding the bodies I kept in mind the size of the buildings they where going to be up against and I kept on scaling them next to it so I didn't make them oversized or unsized. After I had the basic body shape complete and to what I wanted I made sure they where all structurally supported meaning they could stand up by themselves without falling over, this is cease when it comes to creating the animation I wanted to make sure it was easy to move the characters round. When the body was complete I moved onto the head, arms, legs and tails, I did these parts after as it meant when it came to recording it was easier for me to move these parts without snapping them. When these parts where attached I moved onto the details within the head, i.e the eyes, whiskers, mouth and ears, for these parts I used white and black clay so it stuck out more on the characters faces, when making these I kept on looking at the the concept ideas to make sure They where similar or looked good enough to be on a cartoon. Once the head was complete and all the small details;s where finished I place the head onto the characters body to make it complete, when the head was attached along what the arms, legs and tails I added smaller details in such as moulding the head to the body correctly to sit really looked like it was one.
When creating my characters I always referred to my final characters concept this is was because I wanted to make it as accurate to the concept as possible, this would mean it would look really effective and professional. When it came to making each clay character, I started by either mixing the right clay colours together or using an already coloured clay, I then went on to creating each head of the characters. When doing this I referred to the concept art and followed it exactly as I wanted to get the same shape head for each animal, however before I started on the heads I created the bodies first as I wanted to get the right size of the body to the set as I didn't want them to look oversized or even undersized, by doing this it gave me and idea of how big the heads should be. When making the bodies of the animals I decided to use their tales as a support to keep them upright and make them look like they are actually standing rather than sitting.
When creating my characters I always referred to my final characters concept this is was because I wanted to make it as accurate to the concept as possible, this would mean it would look really effective and professional. When it came to making each clay character, I started by either mixing the right clay colours together or using an already coloured clay, I then went on to creating each head of the characters. When doing this I referred to the concept art and followed it exactly as I wanted to get the same shape head for each animal, however before I started on the heads I created the bodies first as I wanted to get the right size of the body to the set as I didn't want them to look oversized or even undersized, by doing this it gave me and idea of how big the heads should be. When making the bodies of the animals I decided to use their tales as a support to keep them upright and make them look like they are actually standing rather than sitting.
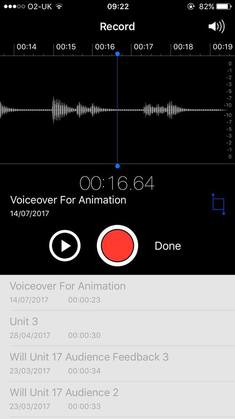
Screenshot of the voice memo I am using within my sequence:
How the animation was made:
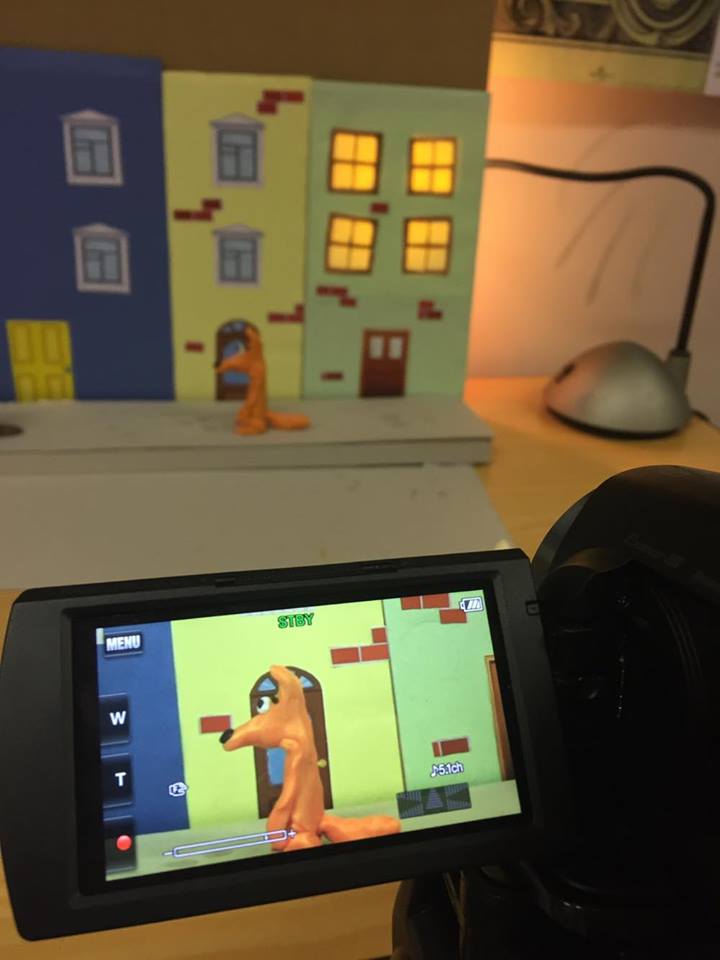
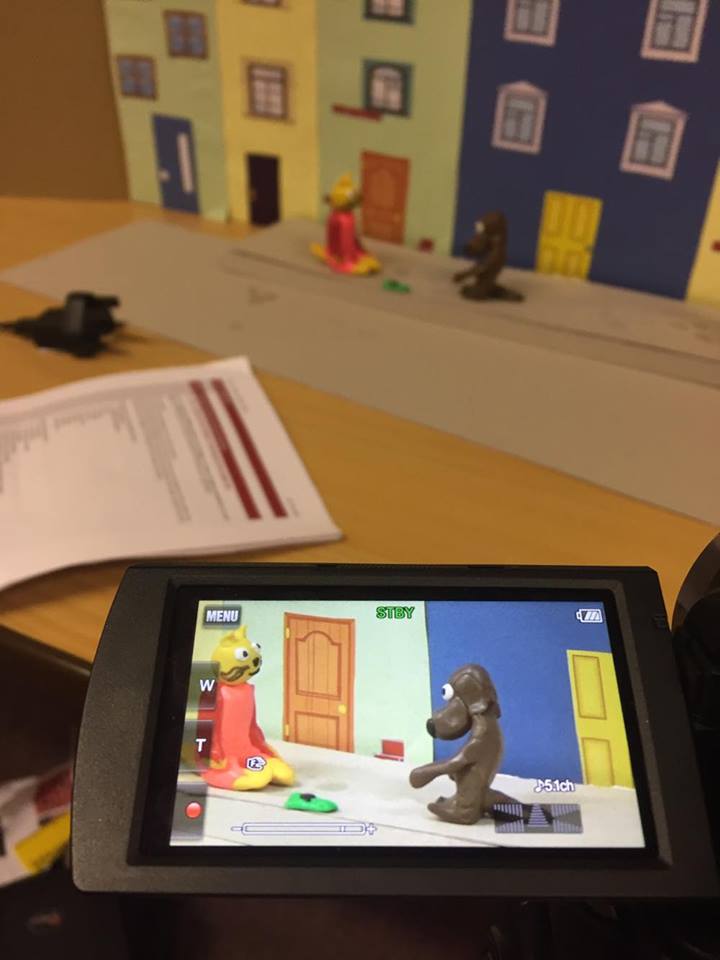
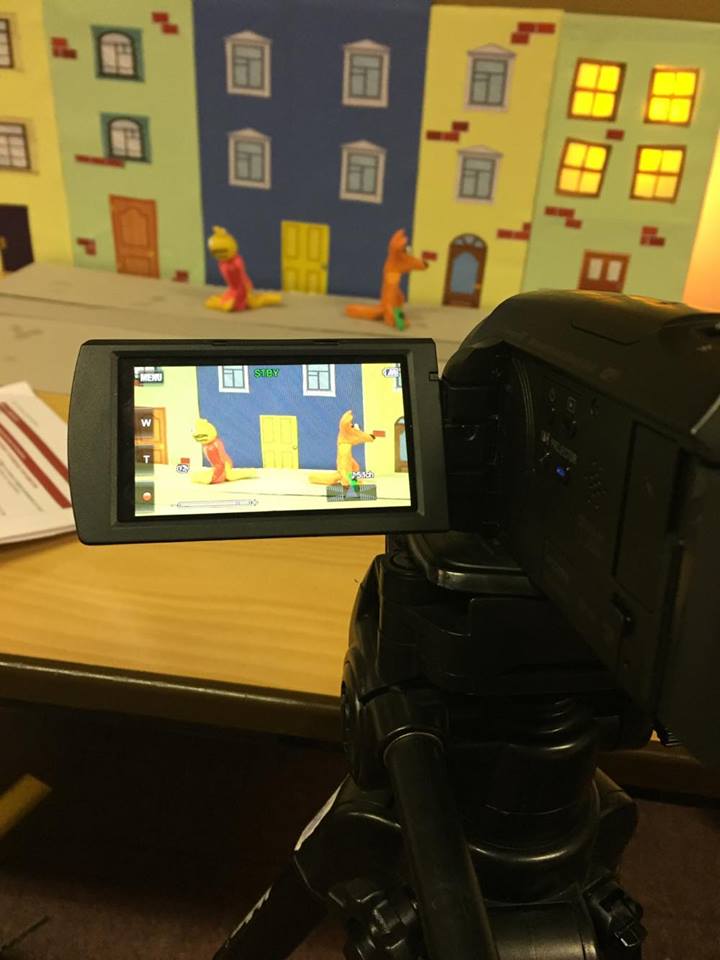
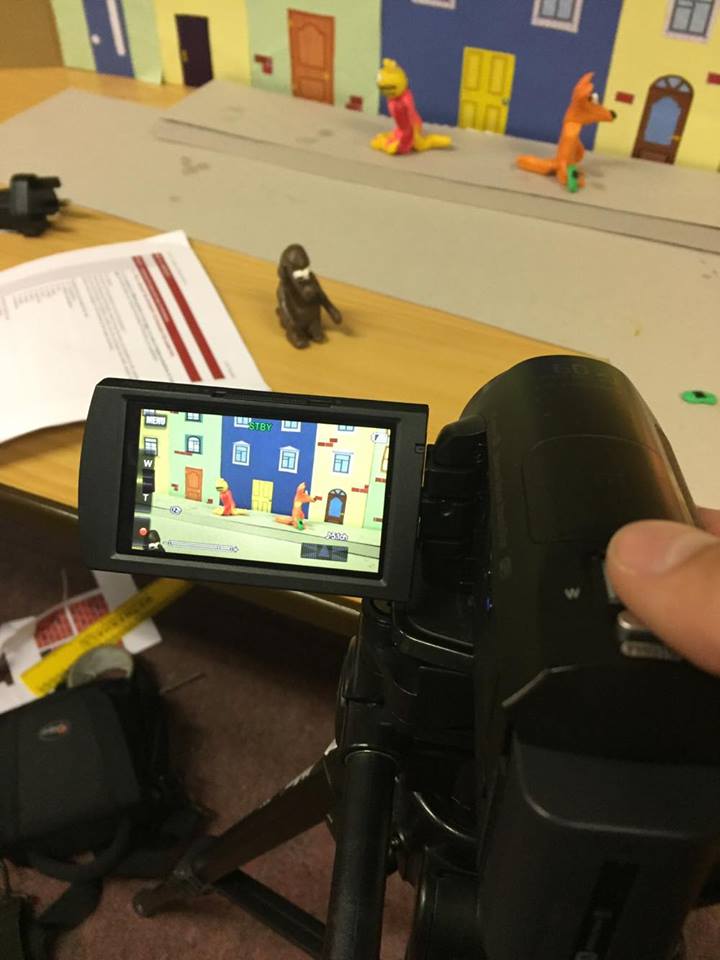
I started of creating this animation by building the set, this including me finding the right materials to give it a clay-mationlook but also finding materials that would be suitable and would allow for the set to be well supported and not fall down. Once I had collected all the materials I needed, I looked back to my mood boards and colour charts to get inspiration of a classic animated city, once I had an idea pop what I wanted from my mood boards etc I then started to build. When building the set I used pieces of cardboard to give the set the structure as well as the dimension, after I had done this I then moved on to adding colour paper to give it a briefer vibrant feel, I cut out shapes of city building and windows to make it look like a building rather than a wall. I also added a curb to the set to give it more of a 3 dimensional feeling. When making the windows I used lights behind coloured paper such as yellow to make it look like there are lights on inside the building. I then took a tripod with a camera on and started to take photos, I decided to do 16fps as this wants too quick or too slow. In the background I also had some lights shining on to the set to make it look like it was daytime.
Complete and edit the animation in line with the plan
This here is evidence of me taking photographs of my animation. Whilst creating the piece
Editing the animation:
Here is a screen recording of my editing the animation together, however I don't show me adding the title sequence or any of the finishing touches.
My final product:
Music sourced:
https://www.youtube.com/watch?v=uIYBnfsB37k
Music used in the animation are owned by the individual and they own all rights to the musis used.
https://www.youtube.com/watch?v=uIYBnfsB37k
Music used in the animation are owned by the individual and they own all rights to the musis used.
Optimise the content for use in the final animation
